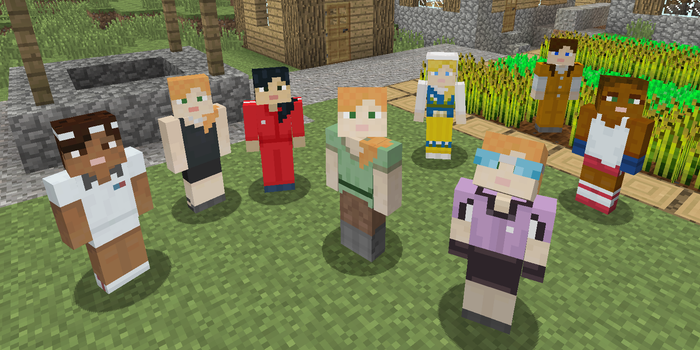
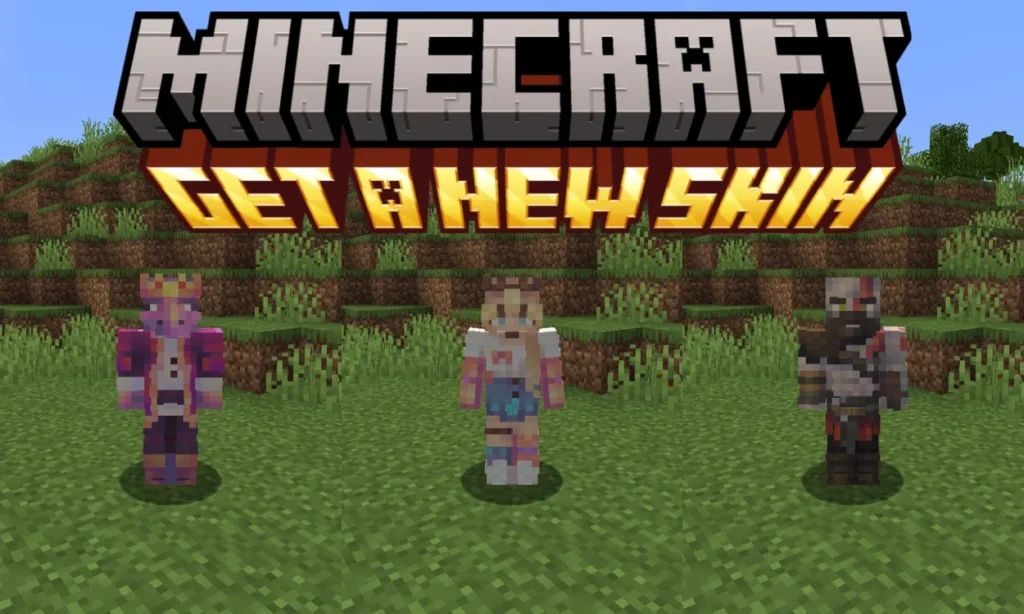
Customizing your character’s appearance is one of the most exciting parts of Minecraft. Whether you’re playing Java Edition or Bedrock Edition, you can change your character’s skin or create a custom one to stand out in the blocky world. This guide will walk you through how to change your skin, make your own skin, and add skins to Minecraft Bedrock Edition. We’ll also explain how to apply custom skins across different versions of the game.
Table of Contents:
- How Do You Change Your Skin in Minecraft?
- How Do You Make Your Own Skin in Minecraft?
- How to Add a Skin to Minecraft Bedrock
- How to Add Custom Skins to Minecraft Bedrock
- How to Add Skins to Minecraft
- How to Apply Minecraft Skins

1. How Do You Change Your Skin in Minecraft?
Changing your skin in Minecraft is a quick and easy process. The steps differ slightly depending on whether you’re playing Minecraft Java Edition or Minecraft Bedrock Edition.
Changing Your Skin in Minecraft Java Edition:
- Go to Minecraft.net: Open your web browser and go to the official Minecraft website.
- Sign In: Log in to your Mojang or Microsoft account.
- Go to the Profile Section: Navigate to the Profile section.
- Upload Your Skin: Under the “Skin” section, choose Upload Skin. Browse for the skin file you want to use (it must be in .png format).
- Select Model Type: Choose between Classic (Steve) or Slim (Alex) models, depending on your skin’s dimensions.
- Apply the Skin: Once uploaded, the skin will be applied, and you’ll see it in the game the next time you log in.

Changing Your Skin in Minecraft Bedrock Edition:
- Open Minecraft Bedrock: Launch the game.
- Go to the Dressing Room: On the home screen, click on Profile or the Dressing Room button.
- Select or Upload a Skin: You can choose a skin from the marketplace or upload your custom skin by clicking the Browse button to select the .png file from your device.
- Apply the Skin: Once selected, your skin will be applied, and you can see your custom character in the game.
2. How Do You Make Your Own Skin in Minecraft?
Creating your own Minecraft skin allows you to customize your character’s look to your exact preference. Here’s how you can make your own skin:
Step 1: Choose a Skin Editor
To create your custom skin, you’ll need a Minecraft skin editor. Some popular online editors include:
- Minecraft Skin Editor (by Tynker)
- Skindex
- NovaSkin
These editors allow you to create and edit skins easily with a simple interface.
Step 2: Design Your Skin
- Select a Base Template: Most editors provide a default template of Steve or Alex to get started.
- Customize the Skin: Use the color and brush tools to design your character’s face, clothing, and accessories. You can create different layers for more detailed designs.
- Preview: Most editors offer a 3D preview to see how your character will look in-game.
Step 3: Save the Skin
Once you’re happy with your design, save your skin as a .png file. This file will be used to upload your skin into the game.
Step 4: Upload and Apply
Now that you have your custom skin, you can upload it to Minecraft using the steps outlined above for either Java or Bedrock Edition.
3. How to Add a Skin to Minecraft Bedrock
Adding a skin to Minecraft Bedrock Edition is straightforward and doesn’t require any mods or complex setups.
Step-by-Step Guide:
- Launch Minecraft Bedrock: Start the game.
- Go to Profile or Dressing Room: On the main menu, click Profile or open the Dressing Room.
- Choose a New Skin: Select the Edit Character option and then go to the Owned tab.
- Upload a Custom Skin: Click the Import button to upload your custom skin. You can browse your device’s storage and select the .png file of the skin you want to use.
- Apply the Skin: After importing, your skin will appear in your character list. Select it, and your character will be updated.

4. How to Add Custom Skins to Minecraft Bedrock
Adding custom skins to Minecraft Bedrock Edition allows you to use skins that you’ve either created or downloaded from online skin libraries.
Step 1: Download or Create a Skin
Download your skin from websites like Skindex or MinecraftSkins.com, or create your own skin using an online editor. Save the skin file in .png format to your device.
Step 2: Open Minecraft Bedrock
Launch Minecraft Bedrock on your device.
Step 3: Go to the Dressing Room
From the home screen, click Profile or Dressing Room to customize your character.
Step 4: Import Custom Skin
- Click the Edit Character button.
- In the character editor, navigate to the Owned tab.
- Click Import and browse for the .png skin file on your device.
- Once selected, the custom skin will be imported and available for use.
Step 5: Apply the Skin
Once the skin is imported, it will appear as one of your available skins. Select it, and your custom skin will be applied in-game.
5. How to Add Skins to Minecraft
No matter what edition of Minecraft you’re playing, the process for adding new skins is similar. You can choose to download skins from online libraries or create your own and then apply them in-game. Here’s how:
For Java Edition:
- Download or Create a Skin: Save the .png file of your custom skin.
- Go to Minecraft.net: Log into your Minecraft profile.
- Upload Your Skin: In the Profile section, upload your skin and apply it.
For Bedrock Edition:
- Launch the Game: Open Minecraft Bedrock.
- Access the Dressing Room: Go to the Dressing Room or Profile section.
- Upload Your Skin: Use the Import option to upload the .png skin file and apply it.
6. How to Apply Minecraft Skins
Applying a skin in Minecraft varies slightly between Java Edition and Bedrock Edition, but both processes are easy to follow.
Applying Skins in Java Edition:
- Log In to Minecraft.net: Open your browser and log in to your Minecraft account.
- Go to Profile: In the profile section, click on Skin.
- Upload and Apply: Upload your custom .png skin file and apply it. The next time you start Minecraft, your skin will appear.
Applying Skins in Bedrock Edition:
- Launch Minecraft Bedrock: Start the game.
- Go to the Dressing Room: Open Profile or Dressing Room from the main menu.
- Select or Upload Skin: Choose a skin from the marketplace or upload your custom skin by browsing for the .png file.
- Apply: Once selected, your character will automatically wear the new skin.
Conclusion
Customizing your Minecraft character with new skins is a great way to add a personal touch to your gameplay. Whether you’re playing Minecraft Java Edition, Bedrock Edition, or Education Edition, the process of changing your skin or adding a custom one is simple and can be done in just a few steps. Use the guides above to make your own skin, download skins, and apply them in-game to create a unique character that stands out in the Minecraft world.

